

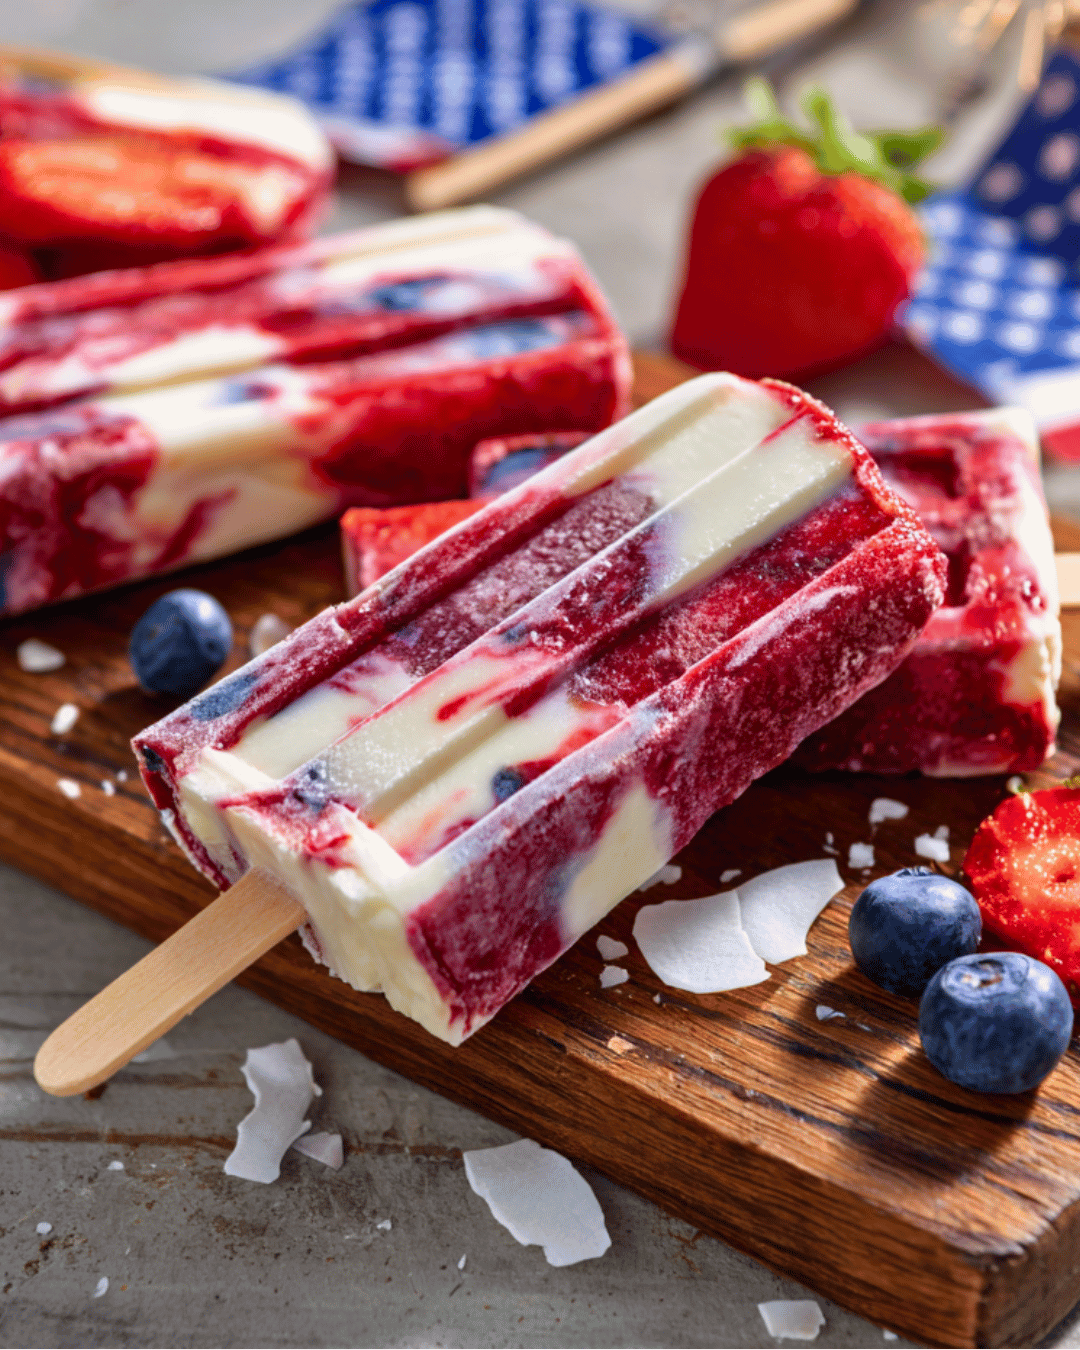
Looking for a refreshing, fruity, and fun way to cool down on hot days? Smoothie Popsicles with a Swirl are the perfect combo of nutrition and nostalgia — creamy, naturally sweet, and vibrantly colored without artificial dyes.
These popsicles layer a red, white, and blue blend using:
- Frozen strawberries and blueberries
- Creamy vanilla yogurt
- Natural sweeteners like honey or maple syrup
Ideal for kids and adults alike, these frozen treats make a fun and festive snack for summer celebrations, 4th of July parties, or healthy dessert alternatives.
They’re packed with:
- Vitamins, antioxidants, and protein
- Naturally occurring probiotics (from yogurt)
- No added refined sugar (just fruit and honey!)
You can blend and layer them in clear molds for a beautiful ombré effect or swirl the colors for a dreamy tie-dye look.
Let’s dive into this delicious, nutritious summer DIY that will have the whole family asking for seconds!
Why You’ll Love These Smoothie Popsicles
1. Perfect for Hot Weather
These frozen treats are a hydrating and cooling snack that both kids and adults will love.
2. Packed with Real Fruit
No mystery ingredients here! Each layer is made from whole fruits, providing natural sweetness and bold color.
3. High in Protein and Nutrients
Using Greek yogurt or plant-based alternatives, these pops offer:
- Protein
- Calcium
- Healthy fats (when using nut milks)
4. Naturally Festive
The red, white, and blue layers make this perfect for:
- 4th of July
- Memorial Day
- Summer birthday parties
5. Customizable for Dietary Needs
- Use coconut yogurt for dairy-free versions
- Sweeten with maple syrup or dates
- Make sugar-free by omitting sweeteners
Ingredients (Makes 6–8 Popsicles)
Red Layer:
- 1 cup frozen strawberries
- ½ ripe banana
- ¼ cup apple juice or coconut water
White Layer:
- ¾ cup vanilla Greek yogurt (or coconut yogurt for dairy-free)
- 2 tbsp honey or maple syrup
- Splash of milk or dairy-free milk (if needed for blending)
Blue Layer:
- 1 cup frozen blueberries
- ½ banana
- ¼ cup almond milk (or any milk of choice)
Optional Toppings/Add-ins:
- Chia seeds or flax for omega-3s
- Shredded coconut for texture
- Granola for crunch
Equipment Needed
- Blender or food processor
- Popsicle molds
- Popsicle sticks
- Small spatula or spoon
- Freezer space (preferably flat shelf)
- Optional: funnel or piping bag (for neater layers)
Step-by-Step Instructions
Step 1: Prepare the Red Layer
- Blend strawberries, banana, and juice until smooth.
- Spoon evenly into the bottom of each popsicle mold (~⅓ full).
- Place molds in the freezer for 10–15 minutes to partially set.
Step 2: Mix the White Layer
- Stir or blend yogurt, honey, and a splash of milk (if needed).
- Remove molds from freezer. Gently layer yogurt mixture on top of red (~⅔ full).
- Use a spoon to lightly swirl if you want a marbled look.
Step 3: Prepare the Blue Layer
- Blend blueberries, banana, and almond milk until creamy.
- Pour over the yogurt layer, filling molds to the top.
- Optional: swirl again for tie-dye effects.
Step 4: Insert Sticks and Freeze
- Add sticks and place molds upright in freezer.
- Freeze for at least 6 hours, or ideally overnight, until solid.
Step 5: Serve and Enjoy!
- To remove, run the molds under warm water for 10–15 seconds.
- Gently wiggle popsicles out and serve immediately.
Creative Variations
Tropical Swirl
- Mango + pineapple layer instead of red
- Coconut yogurt center
- Blue spirulina or blackberries for the blue layer
Chocolate Berry
- Blend blueberries with cocoa powder for a chocolate-blueberry twist
- Add a layer of Greek yogurt with cocoa and honey for a fudgy taste
Coconut Cream Swirl
- Use full-fat coconut milk instead of yogurt
- Add shredded coconut to each layer
- A great dairy-free option
Hidden Veggie Version
- Add spinach to the blue layer for a boost of greens
- Mix a few baby carrots into the red layer for extra beta-carotene
Time Breakdown
-
Prep Time: 20 minutes
-
Layer Freezing: 45–60 minutes (optional)
-
Final Freeze: 4–6 hours
-
Total Time: ~6–8 hours (hands-on: ~30 minutes)
Nutritional Information (Per Popsicle – Approximate)
-
Calories: 70–90
-
Protein: 2–4g
-
Fat: 1–3g
-
Sugar: 7–9g (varies by juice/yogurt)
-
Fiber: 2–3g
-
Vitamin C: Excellent source
-
Calcium: Moderate (from yogurt/milk)
Use unsweetened yogurt and milk to keep added sugar low.
Cleanup and Storage Tips
Cleanup Tips
- Rinse blender and utensils immediately after use
- Wipe any spills before freezing to prevent sticky messes
- Use non-stick molds or silicone molds for easier release
Storage Tips
- Store popsicles in molds or transfer to airtight freezer bag
- Separate layers with wax paper if stacking
- Best consumed within 2–3 weeks for freshness
Themed Serving Ideas
Make these popsicles a highlight at your next event!
4th of July Picnic
- Serve with mini American flags
- Place popsicles in an ice bucket with berries
Birthday Party Snack
- Let kids decorate their own with melted chocolate drizzle and sprinkles
- Pre-freeze mini pops for toddlers
Backyard BBQ
- Serve as a dessert alternative
- Pair with fruit kebabs or fresh lemonade
FAQ
1. Can I make these without banana?
Yes! Replace banana with avocado, mango, or a bit more yogurt for texture.
2. What’s the best mold to use?
Silicone molds work best for easy release. You can also use small paper cups and insert sticks.
3. Can I make these sugar-free?
Yes — skip the honey/maple syrup or use mashed ripe fruit for natural sweetness.
4. How do I avoid icy popsicles?
Use ripe fruit, yogurt, and a splash of healthy fat (like nut milk or coconut milk) for creamy texture.
5. Can I prep these ahead of time?
Yes! Make a large batch and freeze for up to 3 weeks.
Conclusion: A Cool, Colorful Way to Nourish and Celebrate
Smoothie Popsicles with a Swirl are a refreshing blend of nutrition and fun, perfect for summer days, patriotic parties, or anytime you need a colorful, healthy treat.
They’re easy to make, endlessly customizable, and packed with real fruit, probiotics, and delicious layers that appeal to both kids and adults.
Whether swirled like a tie-dye masterpiece or neatly layered for a visual punch, these pops are sure to become a freezer favorite.
Print
Smoothie Popsicles with a Swirl : Healthy, Colorful Treats Kids Love!
- Total Time: ~6–8 hours (hands-on: ~30 minutes)
Ingredients
Ingredients (Makes 6–8 Popsicles)
Red Layer:
- 1 cup frozen strawberries
- ½ ripe banana
- ¼ cup apple juice or coconut water
White Layer:
- ¾ cup vanilla Greek yogurt (or coconut yogurt for dairy-free)
- 2 tbsp honey or maple syrup
- Splash of milk or dairy-free milk (if needed for blending)
Blue Layer:
- 1 cup frozen blueberries
- ½ banana
- ¼ cup almond milk (or any milk of choice)
Optional Toppings/Add-ins:
- Chia seeds or flax for omega-3s
- Shredded coconut for texture
- Granola for crunch
Equipment Needed
- Blender or food processor
- Popsicle molds
- Popsicle sticks
- Small spatula or spoon
- Freezer space (preferably flat shelf)
- Optional: funnel or piping bag (for neater layers)
Instructions
Step-by-Step Instructions
Step 1: Prepare the Red Layer
- Blend strawberries, banana, and juice until smooth.
- Spoon evenly into the bottom of each popsicle mold (~⅓ full).
- Place molds in the freezer for 10–15 minutes to partially set.
Step 2: Mix the White Layer
- Stir or blend yogurt, honey, and a splash of milk (if needed).
- Remove molds from freezer. Gently layer yogurt mixture on top of red (~⅔ full).
- Use a spoon to lightly swirl if you want a marbled look.
Step 3: Prepare the Blue Layer
- Blend blueberries, banana, and almond milk until creamy.
- Pour over the yogurt layer, filling molds to the top.
- Optional: swirl again for tie-dye effects.
Step 4: Insert Sticks and Freeze
- Add sticks and place molds upright in freezer.
- Freeze for at least 6 hours, or ideally overnight, until solid.
Step 5: Serve and Enjoy!
- To remove, run the molds under warm water for 10–15 seconds.
- Gently wiggle popsicles out and serve immediately.
- Prep Time: 20 minutes
- Freeze: 4–6 hours
Nutrition
- Calories: 70
- Sugar: 7g
- Fat: 3g
- Fiber: 3g
- Protein: 4g